Anyone who’s taken upper-level classes has learned the importance of taking great notes. They can make or break a class—and be useful long after you’ve gotten your last grade.
Since notes are so important, we interviewed a recent seminary graduate about the best ways to use Logos for class notes. We’ll start with why he wishes he would’ve used Logos for undergraduate study.
7 things you can do with class notes in Logos (that you just can’t do with “normal” notes)
- Ditch annoying back-and-forth between resources and notes. With Logos’ side-by-side scrolling, you can take notes during lectures while effortlessly following along in Scripture or textbooks.
- Get more use out of your reading highlights because each one is stored as a note—simple to search, access, and organize into class notebooks.
- Easily review class notes and required reading for research, all from inside your Logos notes. (Plus, Logos automatically cites your work when you copy and paste from a resource in the Logos desktop app.)
- Preserve all your notes, even if—heaven forbid—your computer crashes. They’re saved in the cloud!
- Keep what you’ve learned fresh in your mind, since your class notes are so accessible (rather than accumulating dust in a forgotten storage box).
- Save time. When you anchor notes to a verse or resource (more on that below), there’s no need to type out “See John 1:1,” or “See John 1:2,” etc.
- Find what you’re looking for without any hassle. Search every note from every class in a couple of seconds.
How to take notes in Logos
The fastest way to create a note is to click or tap and drag to highlight text, then choose the Note option.
- On the desktop app: highlight, then select the icon that looks like several stacked notes.
- On app.logos.com: after you highlight, right-click, then choose Take a note.
- On mobile: after you highlight, select the word Note.
For a more detailed look at how to create notes, explore this guide to the Notes tool. Or watch the video below for an overview.
How to organize class notes in Logos
1. Create a notebook for each class.
Creating a notebook for each class will give you the organization of a paper notebook. When you want to study for a midterm, for instance, just open the right notebook and get started.
To create a notebook from the desktop app or app.logos.com: go to Tools, then Notes, then Notebooks  . Finally, select the Plus icon.
To create a notebook from the mobile app: choose Notes from the “hamburger” menu, then choose Notebooks, then select the add Notebook icon  .
.
2. Create a new note for each day of class lecture.
Creating a new note for each day continues the organization you’d have with a paper notebook. If you have a cumulative test or need to brush up on what your professor said last Thursday, you won’t even have to do a search.
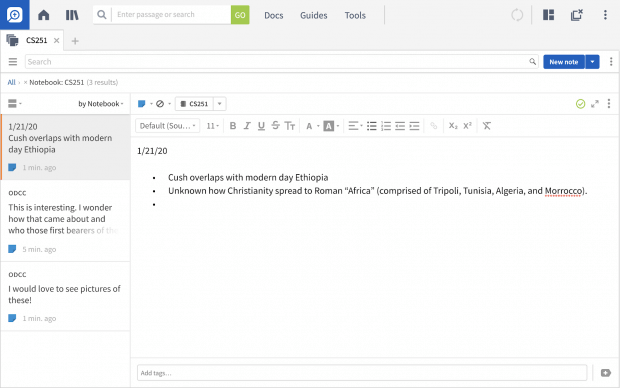
To create a new note inside your class notebook from the desktop app or app.logos.com: select the notebook, then choose New Note in the top-right corner.
To create a new note inside your class notebook from the mobile app: choose Notes from the “hamburger” menu, then Notebooks. Select the notebook, then tap the new note icon in the top-right corner.
Note-taking Tip: Instead of trying to capture all your professors’ words in your notes, try writing down how you understand what they’re saying. “Translating” the material into your words will keep you from typing furiously, missing the chance to fully engage. It helps you create connections, too, with other passages and information you’ve gleaned from other study outside of your current class.
3. Add tags. (These are searchable, just like your notes content.)
When you take a note on a book or Bible passage, Logos automatically tags it with the book title, date, Bible reference, and other important data.
But it’s a good idea to create your own tags, too (for instance, “creation”) to make it even easier to find what you’re looking for.
To add tags from the desktop app or app.logos.com: from inside your note, go to the bar at the bottom of your note panel.
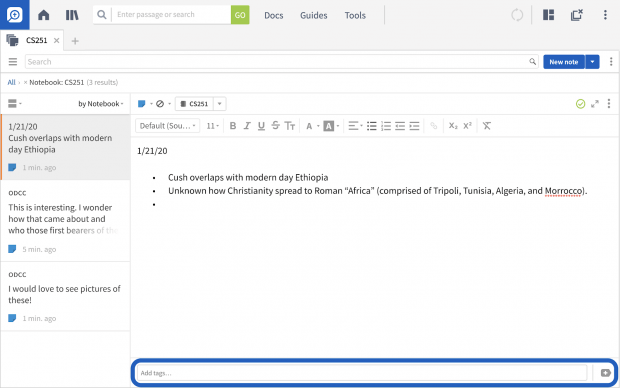
Where it says “Add tags…,” type a word or phrase you want to use as a tag, then hit return on your keyboard. Alternatively, when your suggestion appears in blue above the tags bar, select it with your mouse.
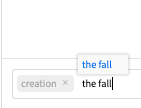
To add tags from the mobile app: from inside your note, tap the three vertical dots on the top-right of your screen. Tap Edit Tags, then type in each word or phrase individually (e.g., “creation,” “the fall”). When you’re finished typing the word or phrase, tap search.
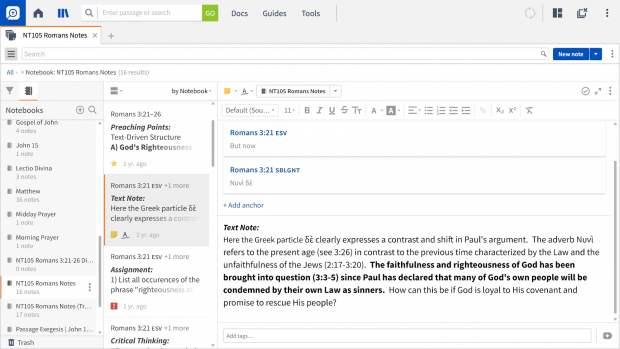
4. Add anchors.
When your professor lectures on a particular passage, anchor your note to that passage.
Adding an anchor means you’ll see that note with that verse, even when you’re not in your class notebook. When you’re preparing for a message or listening to one—even if it’s been years since you took the class—your note will be there, as fresh as the day you took it.
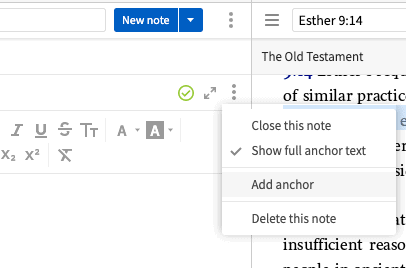
To add an anchor from the desktop app or app.logos.com: with your note open, click on the three vertical dots on the right-hand side of the Notes menu. Then select “Add anchor.” Type in the reference, make a selection, then click Done.
To add an anchor from the mobile app: with your note open, click + Add anchor. Choose a reference, then tap the + sign.
Tip: From the desktop app, you can also anchor your notes to resources. Use the same steps as above.
5. Turn on your Notes and Highlights Visual Filter.
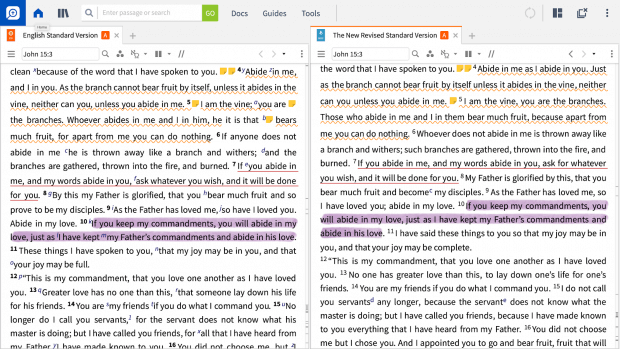
You don’t have to transfer notes from one Bible version to the other with Logos. (If your professor lectures from the ESV but you prefer the CSB, it’s no problem.) To see your anchored class notes regardless of which Bible version you’re in, turn on the Notes and Highlights Visual Filter.
To turn on your Notes and Highlights Visual Filter from the desktop app: from inside your Bible, click on the three-dot pyramid icon near the search bar. Then check “Notes and Highlights” and “Notes and Highlights (Corresponding).”
To turn on your Notes and Highlights Visual Filter from app.logos.com: from inside your Bible, click on the three-dot pyramid icon near the search bar. Then check “Notes” and “Highlights.”
To turn on your Notes and Highlights Visual Filter from the mobile app: from inside your Bible, tap the three vertical dots at the top-right of your screen, then select View Settings. From the Settings menu, tap to toggle on Show Notes/Highlights.