Guest writer Adam B. Shaeffer holds an MA in Spiritual Formation from Talbot School of Theology and a PhD in Theology from Durham University. He is already a big fan of Logos 8.
This article is a follow-up to my previous post on Personal Books. If you haven’t read it already, you may want to start there.
Imagine you are a teacher or the leader of a discipleship training program (this won’t take much imagination if you are one already) and you want to integrate technology more deeply into your in-person or online courses and curriculum.
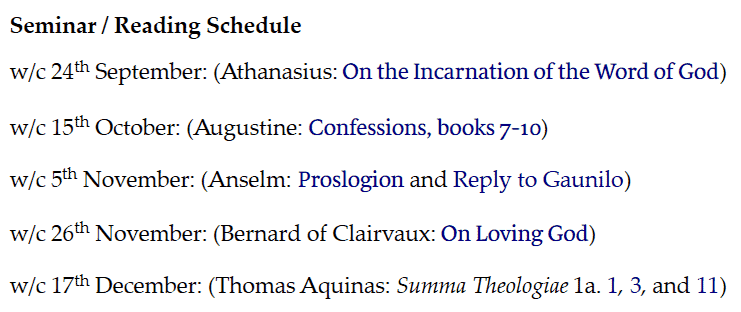
In typical courses, professors hand out a printed syllabus on the first day of class. In some cases, they may post a digital copy to whatever digital learning resource their university uses, but this is typically done as a Word doc or pdf.
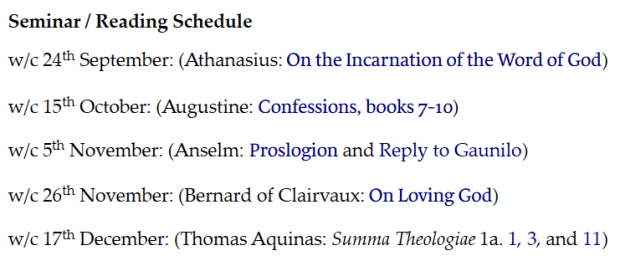
Using Logos, however, these documents can be something more: they can be integrated into students’ personal libraries and connected to the relevant course materials. Your syllabus becomes a portal for learning, rather than simply a schedule of readings and meetings.
How to use it
Using the Personal Book Syntax as described in the Help file lets you turn simple references into live links to those resources within Logos.
And editing your course materials (if you want to reuse the syllabus and change the dates or the readings) only takes a few steps. You just need to remove your old file and rebuild the book with the updated file. After making your changes and saving the document as a .docx file, do the following:
- Click Tools > Personal Books (or click Tools and begin typing “personal” into the search field).
- Click your course document.
- Scroll down to your body file and right click it.
- Click Delete.
After that, you simply add your file again and rebuild the book.
Sharing the course document with students
For your students to benefit from the time you put into enhancing your course schedule, they’ll need to get their hands on it, and the best way to do that is to create a Faithlife group for your course (of course, you can also email the .docx file to your students). A Faithlife group is an online community space you can create for your group for free.
To create a Faithlife group,
- Open your preferred web browser and navigate to your Faithlife account.
- From the Groups menu in the left sidebar, create a group for your class.
- Invite your students to join the group.
Now, when you upload the .docx file to your class’s Faithlife Group, they can easily download it and add the file as a personal book (you may want to link students to the Logos support article on building personal books, just to facilitate their success).
What’s even better is that if the students have Logos 8, they can collaborate on notes and carry out discussions via a shared notebook. To get the ball rolling,
- Create a new notebook from the Notes Tool in Logos.
- Open a new tab or window in your browser and navigate to documents.logos.com.
- Find the notebook you just created.
- When you hover over the notebook, a list of options will appear. Click Collaborate. This will allow everyone in the group to work on the notebook rather than simply allowing them to view it.
One of the advantages to this approach is that you can add class notes directly to the text as notes within that shared notebook. This means that students can open their assigned reading and see the notes you’ve added from within the resource itself.
By introducing students to what thoughtfully created technology can do for their studies, we can help them get the most out of their learning. By integrating our resources, we can help students see the common theological threads and questions running through the ages. And this can open their eyes to the privilege and wonder of the task before them.

